Sends email through the specified SMTP server. Messages can have attachment files. For example, you can create a task that automatically e-mails monthly invoices to a specific customer outlining the sales charges for that month.
Message tab
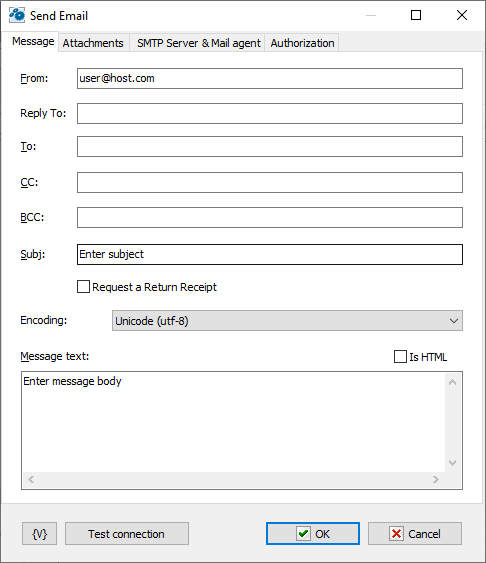
From
Enter the e-mail address of the person sending the e-mail.
Reply to
If the reply-to address is different from the sender's address, you can provide an alternate email address for replies in this field. You can leave this field blank.
To
Enter the e-mail address to which you are sending the e-mail.
CC
Enter the address of any people to which you want to send a courtesy copy.
Subj
Enter the subject of the e-mail.
Request a Return Receipt
If you want to get a confirmation of a reading, switch on this checkbox. Pay attention, it does not guarantee getting a receipt even if an addressee has opened and read the letter. It depend on settings of a mail client of the addressee.
Encoding
The character set of the message. RoboTask doesn't convert specified text of the message, but you have to specify character set if the message contains non-latin characters.
Message Text
Enter the text that you want to send. If you enter .html tags, click the Is HTML check box.
Tip
•You can cut and paste .html code from Notepad into this window with the CTRL+V keys.
Is HTML
Click this check box if you have entered .html tags in the Message Text box.
Attachment tab
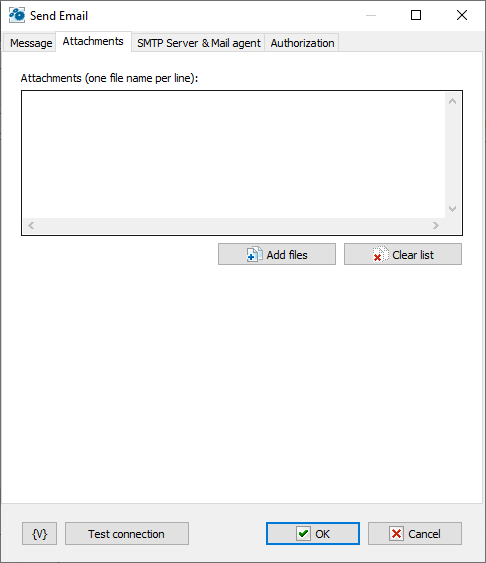
Attachments
Attachments list is the list of file names, one file name per line.
Click the plus button to add attachments to the e-mail. You can add more than one attachment. Click the X button to remove attachments from the list.
Variable
Allows you to add a variable to the action or triggering event that you selected. You must place the cursor in a edit box in the settings dialog window of the action or event and then click the {V} button.
SMTP Server & mail agent tab
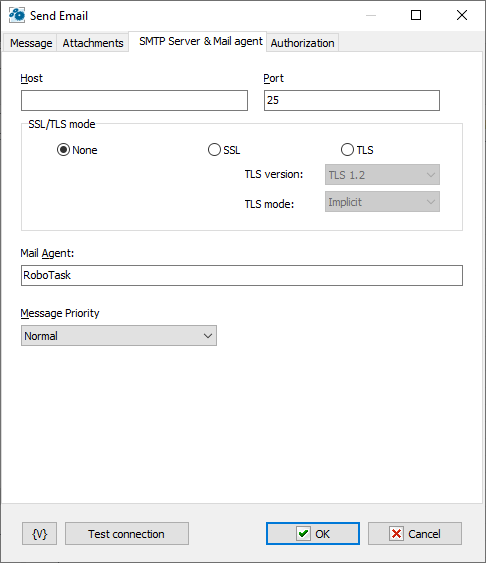
Host
Enter the name of the host to which you want to send the e-mail using SMTP (simple mail transfer protocol).
Port
Enter the port number to use.
SSL/TLS mode
You can set SSL/TLS mode of the connection. There are three options:
•None
•SSL
•TLS
Authorization tab
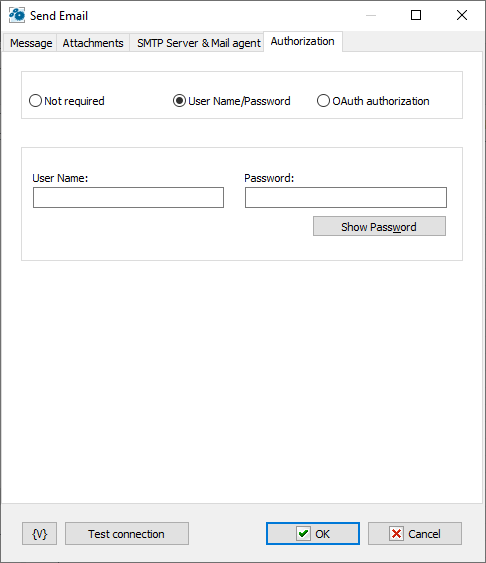
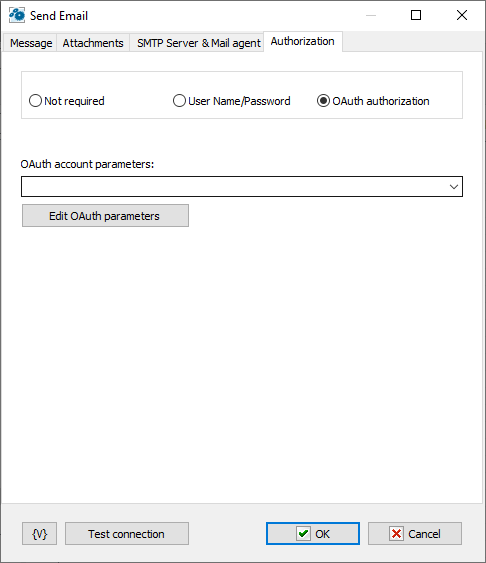
Authorization is possible in two modes:
•Username / password – classic password-based authorization
•OAuth authorization
Username / Password
Enter the username and password explicitly or using variables.
OAuth Authorization
OAuth authorization parameters are shared for all email actions. In the action editor, simply select the desired set by name. Using variables to form the name is allowed.
Edit OAuth Parameters
To edit authorization parameters, open the OAuth account editor. This same editor is opened when editing plugin settings.
Variable
Allows you to add a variable to the action or triggering event that you selected. You must place the cursor in a edit box in the settings dialog window of the action or event and then click the {V} button.
![]() Related Topics
Related Topics